To create a new user account, complete the following steps:
Step 1. From the home screen, click the User Management icon ![]() .
.
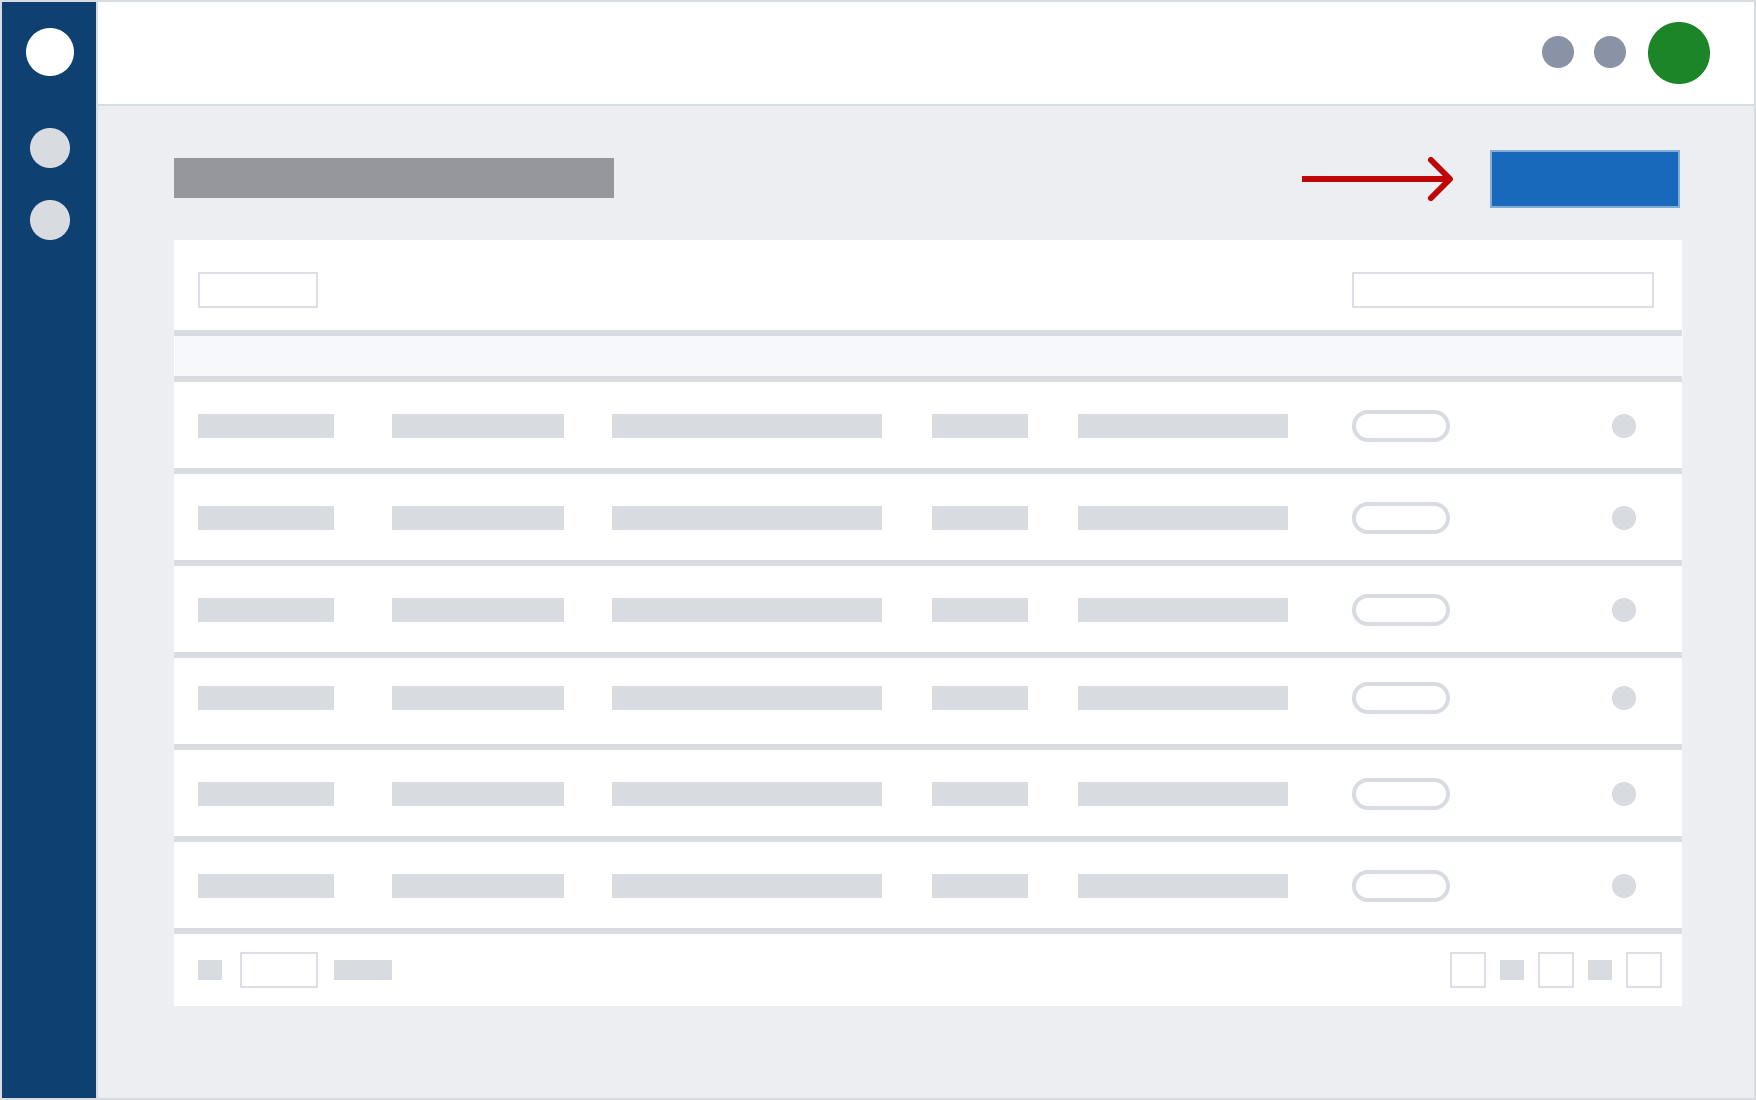
Step 2. Click the Create User button.
Step 3. You will now be taken through a step-by-step wizard where you will enter in the following:
- User’s Basic Information
- Data Access
Basic Information section
This section will require you to enter the user’s first name, last name, and email address.
From the drop-down menu, you will also select one of the following user roles:
- Account User
- Account Administrator
Data Access section
The steps to complete the Data Access section may be different, depending on how many MIDs or MID groups you have access to.
If you have access to only one MID group, you can choose specific MIDs from your MID group or you can add all the MIDs that are within that group.
If you have access to more than one MID group, you will be able to choose MIDs from all of those groups.
For more information about data access, please check out our Managing Data Access article.
Review Configuration section
To complete setting up the user account, review the information that you have entered for the new user account.
If you need to change any of the information, click  next to the section you want to change.
NOTE: A set-up email is automatically sent to the new user. If you do not want to send a setup email, click the Send setup to new user toggle.
Step 4. Click Create User.