When creating a user, assign data access to the user. This determines which MIDs the user has access to for various applications (for example, Reporting, Analytics, etc).
The Data Access selector tool allows you to find and select the MIDs you want to assign that user. This tool is also present in the Edit Profile section for each user as well (if you have been granted Edit Data Access permissions).
NOTE: The Data Access selector will look and act slightly differently for each user and user base, but the framework is the same, and operates similarly in both the Create and Edit User sections.
Step 1. Select search method – You can find MIDs either by hierarchy or individual MID.

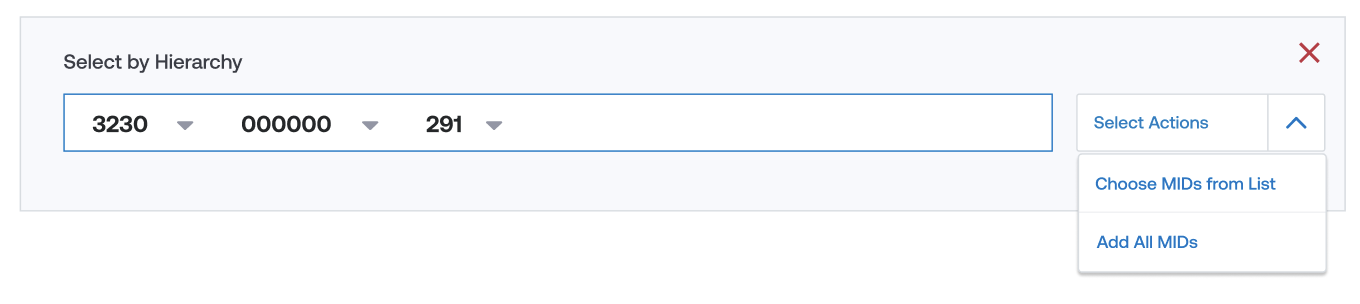
Step 2a. Hierarchy Selection: If you select Hierarchy, you will then be presented with a dropdown list, based on your merchant segment, where you can navigate through the levels that you have access to (NOTE: If you only have access to a single level, or segment of a level, you will automatically be taken to the level you can select MIDs from).

If you choose “ALL” at any level, you are choosing to give the user access to all MIDs underneath that level.
If you refine the levels down to the lowest level, you will be presented with a button where you can select to either “Add All MIDs” or “Choose MIDs from List”.
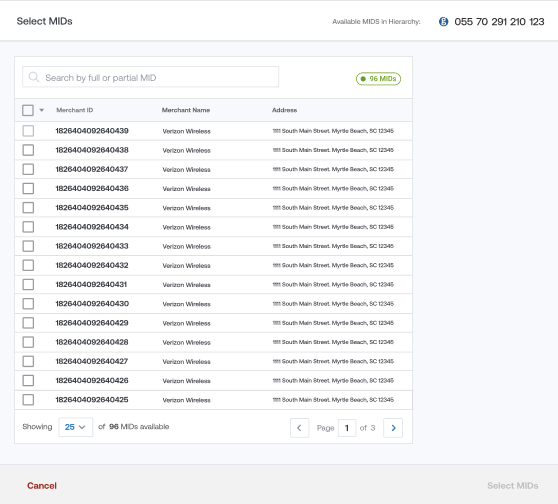
If you wish to choose MIDs from a list, you will then be presented with a popup box where you can select the individual MIDs you wish to grant that user.
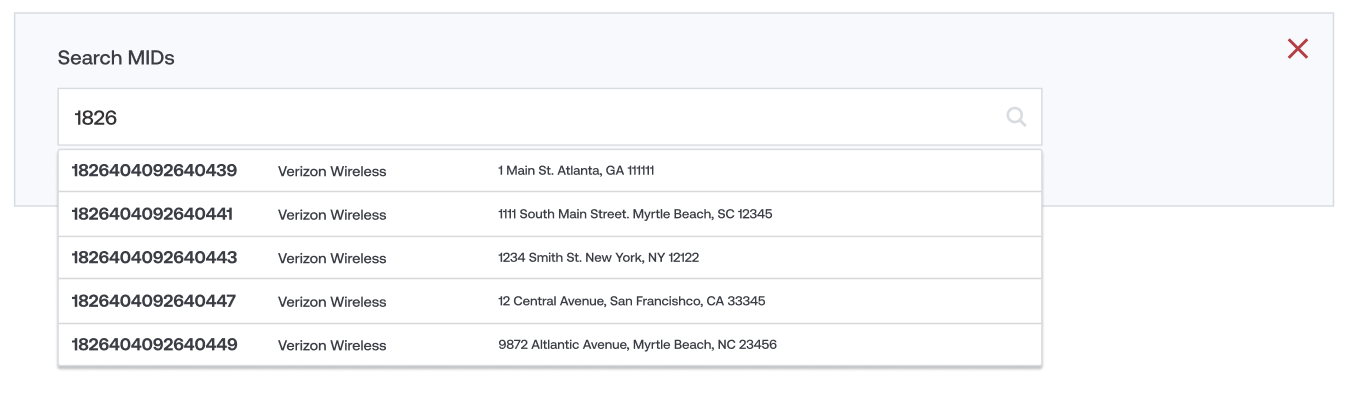
Step 2b: Individual MID selection: This selection method is especially useful if you know are only selecting a handful of individual MIDs, and you know the full or partial MID number. Here, you will be presented with a search box where you can begin to type the MID number, and you will be presented with a dropdown box of results to choose from.
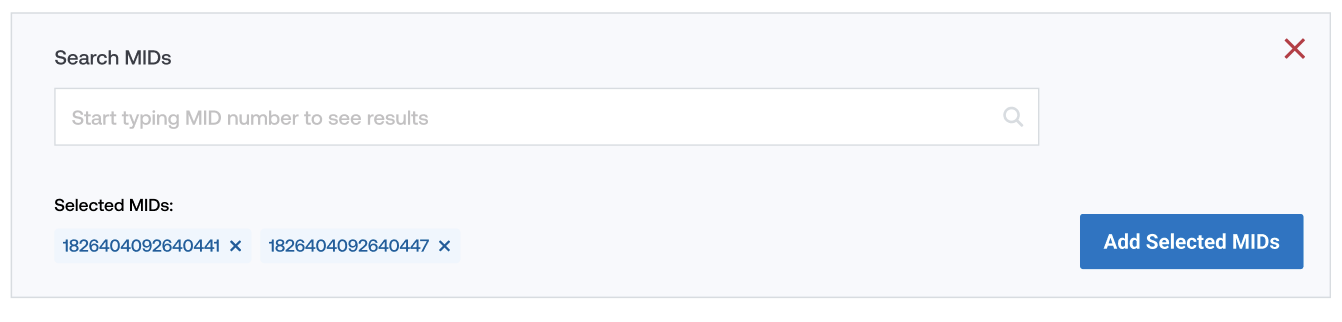
You can select one or several MIDs, and continue to use the box to search until you have selected all of the MIDs you would like to assign. When you are done, click on “Add Selected MIDs”.
Step 3: Selected MID Summary List: When you have finished your selection, you will be brought to a summary screen where you can view all of the MIDs you have selected for that user. You can continue to add rows of selections as needed.
NOTE: You can use a combination of hierarchy and individual MID selection in order to build the exact data access set you wish to assign.
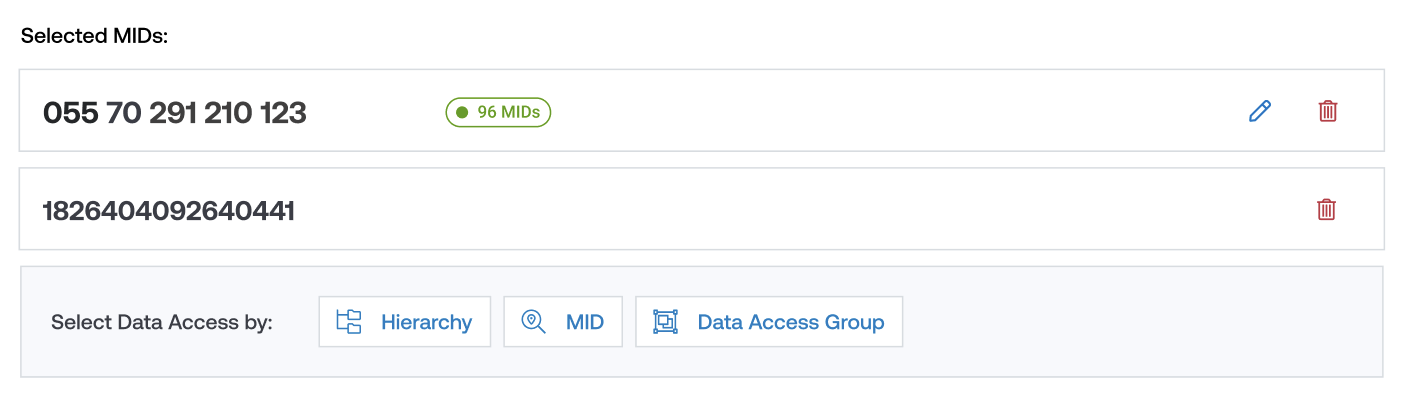
Step 4: Removing or Editing Data Access: If you need to remove a row of data access, simply click on the Delete icon. To edit a row, click on the Edit icon and make changes from the popup provided.